Getting Started

In this section you will install Docker.
If you already have the docker daemon installed on your machine you can skip this step.
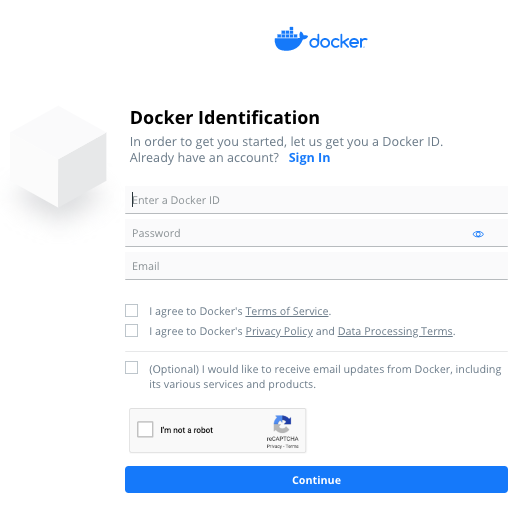
Creating a Docker account
During this Hands-on lab you will work with many docker images, created by others. In order to be able to do that you need a docker account. If you already have one just continue with Installing Docker.
Go to the Docker hub signup page and follow the instructions

Installing Docker
Three native ways of installing docker are provided and described.
Because not all configurations can be predicted the following installs are provided:
Colima install 4 Mac install for Mac
MacOS install
Windows install
Linux install (Ubuntu)
This does not mean that these are the only ones supported by Docker, but the only ones provided out of the box by this Hands-on Lab.
Just go to the Link docker website to find the correct installer.
Hint
If you are unsure if you already have docker installed, you can check it by opening a terminal and running
docker --version. If installed the response should be something like: Docker version 20.10.22, build 3a2c30b
Podman install (recommended)
An alternative for docker is podman. Podman is available for most platforms. Some companies do not allow docker anymore as it is licensed. For that reason Podman is a good alternative.
The main difference is that docker runs in daemon mode (always runs in the background) and podman starts a vm to run (daemonless)
install podman
 podman machine init
 podman machine start
 podman login docker.io
the podman commands are 100% the same as docker so you can alias them so you can use the docker command while still using podman
alias docker=podman
Set-Alias -Name docker -Value podman
doskey docker=podman
Colima install 4 Mac

If you do not want to work with the docker desktop and want to use a more minimal setup, you can use teh opensource project Colima. Most everything in this Hands-on Lab should work with Colima as well, but is not tested. Proceed this way only if you have confidence in your Mac skills :-)
This does also circumvent the whole licensing issue with Docker Desktop.
Native install
A native install of Docker is the best option if you are sure that you want to continue using it after this Hands-on Lab.
Just run one of the installers and follow the instructions.
Warning
Docker Machine was the only way to run Docker on Mac or Windows previous to Docker v1.12. Starting with the beta program and Docker v1.12, Docker Desktop for Mac and Docker Desktop for Windows are available as native apps and the better choice on newer desktops and laptops. This Hands-on Lab will not go into the docker machine.
Attention
Be sure to Open (start) Docker Desktop after installation. Installing alone will not start the application or make it available on the commandline.
MacOS
With Homebrew:
brew install docker
#or if you want to use the edge version
brew install docker-edge
Or download DMG from the docker website (follow the instructions)
Linux
Quick and easy install script provided by Docker:
curl -sSL https://get.docker.com/ | sh
Or go to the docker website and find the linux of your choice and follow the instructions
for docker-compose follow the Install Docker Compose guide.
Ubuntu example:
snap install docker
apt-get install docker-compose
Windows
Go to the docker website and find the “Docker Desktop for Windows” installer and follow the install instructions
Docker Desktop for Windows already includes docker-compose.
Warning
Windows Home editions may not allow “native” install.
Please refer to the Trouble shooting section if installation fails.
You might need to enable HyperV. See Enable / Disable HyperV on Windows section if so.